Ore Boulders
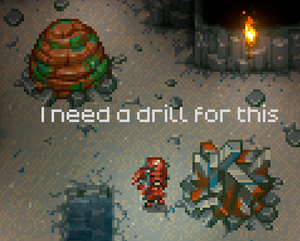
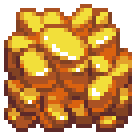
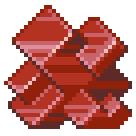
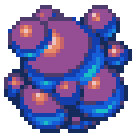
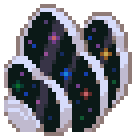
Ore Boulders are metal resource nodes 2x2 tiles in size. These rocks of solid ore can only be mined using Drills powered by Electricity Generators or Levers. They are unbreakable with pickaxes or other tools.
Each boulder always yields a total of 1800 ore of its respective metal type. This takes many hours to fully extract with 8 drills, and longer still with fewer than that. However, drills continue to work everywhere in the world, regardless of player distance.
Types and locations[edit]
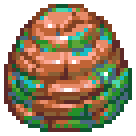
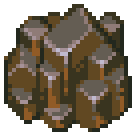
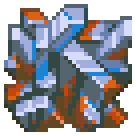
Ore Boulders are environmental objects that are almost all spawned randomly by world generation, during player exploration and such. There is a far higher, or exclusive, chance for them to appear in their native biome areas. I.e. along with their manually mined ore types. Spawn chance tiers (in table below): "Frequent" = 1 in 333 tiles, "Common" = 1/1000, "Rare" = 1/2000, "Very Rare" = 1/10'000 (or less).
|
|
|
|
|
|
| |
| Biome | Copper | Tin | Iron | Gold | Scarlet | Octarine | Galaxite |
|---|---|---|---|---|---|---|---|
| Dirt | Frequent | None | None | None | None | None | None |
| Clay | Common | Frequent | None | Common | None | None | None |
| Stone | Common | Rare[1] | Frequent | Common | None | None | None |
| Wilderness | Rare | Rare | Rare | Very Rare | Frequent | None | None |
| Sea | None | None | None | None | None | Frequent | None |
| Desert | Very Rare | Very Rare | Very Rare | Very Rare | None | None | Rare[2] |
| Map color | #ad7466 | #847b75 | #888fa6 | #c5bb66 | #995f55 | #7e68b7 | #f7f0dc |
| Ore | |||||||
| Smelter | |||||||
| Smelt Time | 7s | 12s | 17s | 22s | 27s | 32s | 32s |
| Bar | |||||||
| Bars/hour | 514 | 300 | 212 | 164 | 133 | 113 | 113 |
The first 3 ore types can only be processed into bars with a Furnace. The next 3 ores with a Smelter Kiln and Galaxite with the Fury Forge. Each tier of ore takes 5 seconds longer to smelt than the type before, except Glaxite. This means that automated mining setups may need additional Smelters to keep up with the same rate of ore production from the higher tier boulders.
Depletion time[edit]
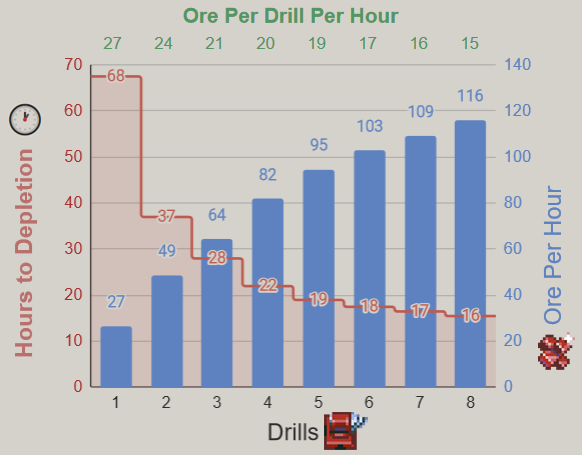
There is a diminishing return for each additional drill on a boulder, in terms of reducing the time per ore extracted. The effective amount of ore per drill drops from 27 per hour (with 1 drill) down to 15 per hour (with 8 drills). However, the total ore produced per boulder will always be 1800.
| 1 | 2 | 3 | 4 | 5 | 6 | 7 | 8 | |
|---|---|---|---|---|---|---|---|---|
| 27 | 49 | 64 | 82 | 95 | 103 | 109 | 116 | |
| Hours to Depletion | 67.5 | 37 | 28 | 22 | 19 | 17.5 | 16.5 | 15.5 |
Getting started[edit]
Each ![]() Drill requires
Drill requires ![]() 10Scarlet Bar and
10Scarlet Bar and ![]() 10Iron Bar to craft, at the
10Iron Bar to craft, at the ![]() Automation Table. That is itself crafted at the
Automation Table. That is itself crafted at the ![]() Tin Workbench. So you will first need to manually mine enough Scarlet from Azeos' Wilderness, before making your first drill. 25 + 8 + 10 = 43 scarlet minimum, needed to make the first drill.
Tin Workbench. So you will first need to manually mine enough Scarlet from Azeos' Wilderness, before making your first drill. 25 + 8 + 10 = 43 scarlet minimum, needed to make the first drill.
Priority should probably then be given to mining Scarlet boulders, to make more drills and increase production rate. Assuming one has easier, more plentiful access to Iron.
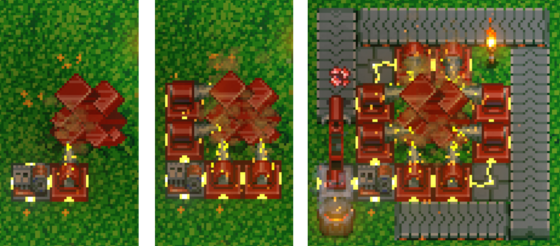
There are diminishing returns with the rate of ore production, from adding more drills to the same boulder. So, if you are very limited for drills, it may be faster to spread them out between different boulders.
One can collect raw ore from the drills directly (left and middle image), or use a more complex setup (right) to automate processing the ore into bars, ready for crafting. This is mostly a matter of preference. But automated processing means carrying more inventory items around, when setting up drilling sites.
Note: if you're not collecting periodically, your smelter/furnace output could fill up to 999, and stop. So, you'll need to add a second robot arm to unload finished metal bars from the smelter, into a chest.
The Wilderness is infinite in size, with every type of boulder below Octarine available, so one should never run out of ore.
Tips[edit]
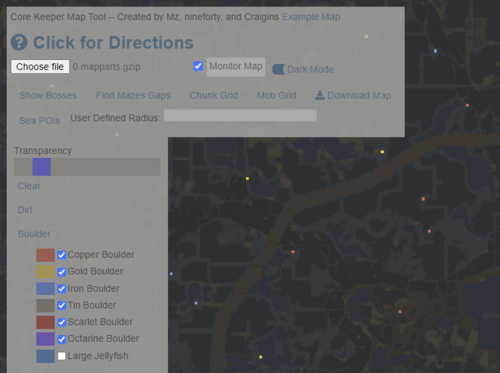
- Use Map Tool, like so, to highlight the location of boulders you've previous discovered. (Note that this will also spuriously highlight 2x2 patches of ore in walls.)
- For automated setups, laying the Conveyor Belts backwards, from the end, avoids the need to re-orient multiple tiles of it.
- Leave a one tile gap at the end, for the Robot Arm to pick up from. If an item is deposited right up onto its base, it can't pick it up.
- Using 2 Electricity Generators, in opposite corners, can negate the need to carry any Electrical Wire. A trivial additional expense, after several different bolder types have been mined.
- Boulder mining, and other automation stops running on dedicated servers when there are no players connected.
Version history[edit]
- Update 0.5.0.0 - Galaxite boulder added with The Desert of Beginnings.
- Update 0.4.3 - Boulders can now be destroyed by Ghorm running over them.
- Update 0.4.0 - Prior to this Sunken Sea update, boulders only produced 900 ore, maximum. And this would reduce to 450 ore with 8 drills. A behaviour unintended by the developers.
- Update 0.3.3 - The color of ore boulders has been made easier to see on the map.
